Integrating your Yeelight devices with Apple HomeKit allows you to control your smart lighting seamlessly alongside other HomeKit-enabled devices. By adding Yeelight to HomeKit, you gain the ability to create custom scenes, automate lighting schedules, and manage your home’s ambiance with simple voice commands. The setup process is simple and can be done through Yeelight or the Home app. Alternatively, you can add the incompatible Yellight devices via a bridge. This article will guide you in integrating the Yeelight device with the HomeKit.
Note – Confirm that your Yeelight device supports HomeKit integration. It is also essential to update the device firmware through the Yeelight app.
Steps to Add Yeelight Devices to HomeKit Using the Home App
1. Open Home App: Launch the Home App and hit the + icon.
2. Add Accessory: Tap on Add Accessory and scan the QR code on the Yeelight device.
- Alternatively, you can type an 8-digit code. To do it, hit Add Accessory → Tap My Accessory isn’t shown here → Tap Enter Code → Input the 8-digit code → Select Continue.
3. Scan Device: The app will scan and detect your Yeelight device.
4. Assign Room: Once found, assign the device to a specific room. You can also rename it if needed.
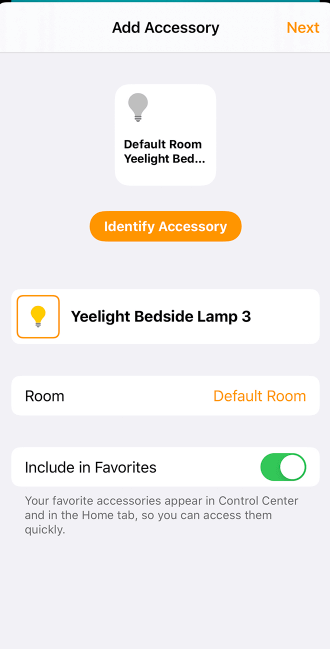
5. Finish Setup: Click Next and then select the Done option.
Your Yeelight device should now appear on the Home screen and be ready for use.
Steps to Integrate Yeelight Devices to HomeKit using the Yeelight App
1. Download the Yeelight App: Get the Yeelight app from the App Store and log in or create a new account.
2. Add Your Devices: Tap the ‘+‘ icon at the top-right corner and tap Add Device.
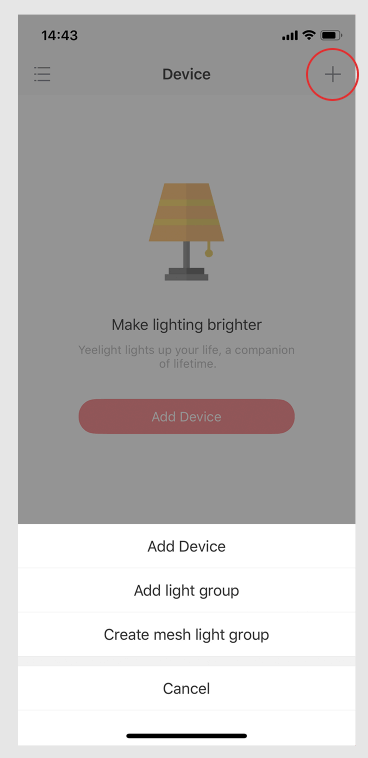
3. Device Discovery: Allow the app to scan for your Yeelight device. If your device does not appear, try resetting it by turning it on and off five times consecutively.
4. Connect Your Device: Select the device (e.g., Aurora Lightstrip Plus) from the list, choose your Wi-Fi network, and input the password.
5. Establish Connection: Follow the prompts to connect to the Yeelink Wi-Fi network from your phone’s settings, then return to the app.
6. Completion: Wait until your device successfully connects. Once done, you can see it on the app’s home screen.
7. Access Settings: On the Yeelight app, navigate to the Device tab and tap the menu icon (three horizontal lines) in the top-left corner.
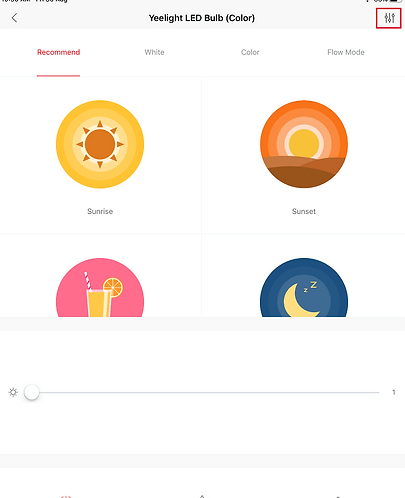
8. Check for Firmware Updates: If your device needs an update, select the Firmware Update option and install any available updates.
9. Select the Device: After updating, choose the device you wish to add and tap the Settings icon in the top-right corner.
10. Add to HomeKit: If your device supports HomeKit, tap on the Add to Home option to begin the integration process.
11. Choose Your Home: The app will recognize your existing HomeKit settings. Click the Add Now button and select the appropriate HomeKit name (e.g., My Home).
12. Confirmation: You’ll receive a prompt to confirm the addition of your Yeelight device to HomeKit. Select Continue to finalize the process.
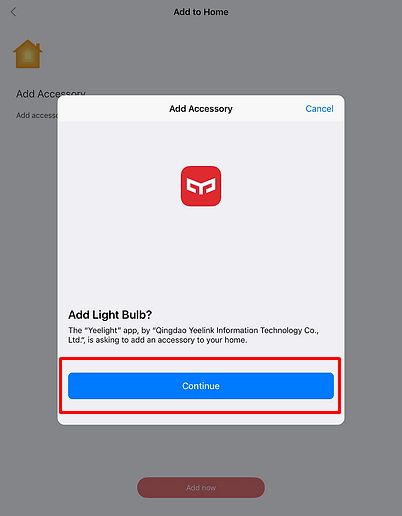
13. Final Setup: Your Yeelight device should now be visible in the Home app and ready for use.
How to Add Yeelight Devices to HomeKit Via HOOBS
Some Yeelight devices are incompatible with the Apple HomeKit. Such devices can’t be directly added to the Home app. However, you can use a bridge like the HOOBS platform to make it possible. As a prerequisite, link the Yeelight devices to the Yeelight app and connect it to the WiFi.
Steps to Configure Your HOOBS
To begin using your HOOBS bridge, you first need to complete the setup process.
1. Connecting Power: Plug your HOOBS device into a power outlet. Once connected, the indicator light will switch from red to green, signaling that you can proceed to connect it to the internet.
2. Installing the App: Visit the HOOBS official website and download the HOOBS app for your desktop.
3. Logging Into Your Account: Open the app you just downloaded and login to your HOOBS account.
4. Access HOOBS Dashboard: Once installed, open a browser and type the IP address of your HOOBS device to access the HOOBS dashboard.
5. Go to Plugins: In the HOOBS dashboard, navigate to the Plugins section.
6. Search for Yeelight Plugin: Use the search bar to find the Yeelight plugin. The most commonly used plugin is called homebridge-yeelight or yeelight.
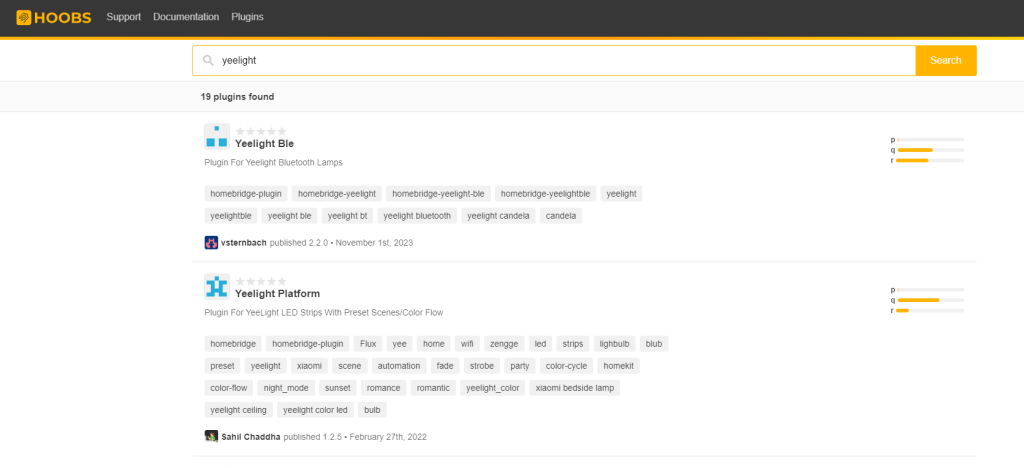
7. Install the Plugin: Click the Install button next to the Yeelight plugin. HOOBS will automatically download and install the plugin.
8. Access the Config File: After installation, go to the Config section in the HOOBS dashboard. This is where you’ll configure the Yeelight plugin.
9. Add Yeelight Device Information: You’ll need to add the device’s IP address and model information in the configuration JSON. Make sure to replace the IP value with the actual IP address of your Yeelight device.
10. Save Changes: After entering the necessary details, save the configuration.
Add to Home App
Before heading to the process, restart the HOOBS server to apply the changes.
1. Add Accessory: Launch the Home app and hit the + icon.
2. Locate Yeelight: You can find the Yeelight devices listed there.
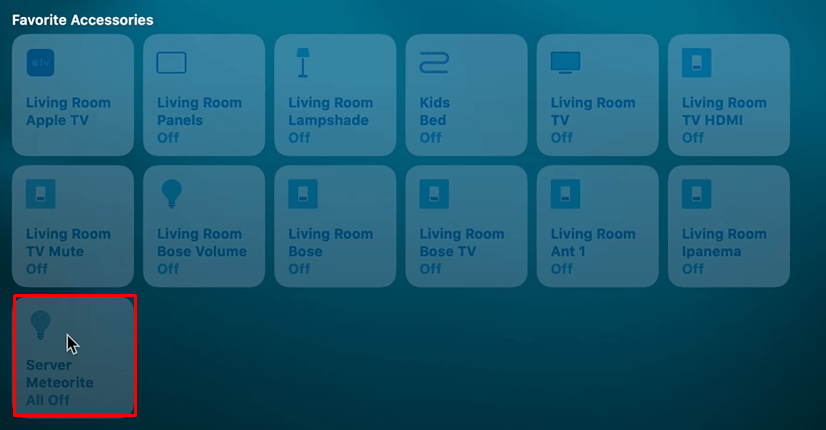
3. Follow Prompts: Follow the on-screen instructions to add your Yeelight devices to HomeKit.
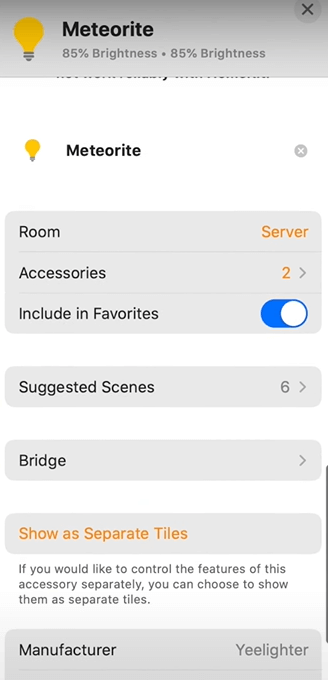
Once done, you can modify rooms and scenes and control the Yeelight using the Home app on your iPhone.
FAQ
Start by restarting your Yeelight device. Next, check the Yeelight app to ensure the device is connected and functioning properly. You can try removing and re-adding the Yeelight device in the Home app to fix the issues.
Yes, the Yeelight GU10 smart bulb is compatible with HomeKit, and you can add it easily through the Yeelight or the Home app.
