Do you wish to control Somfy devices with Apple HomeKit? Somfy products like blinds, lights, and cameras can easily be integrated with HomeKit. While some devices can connect directly, others require an integration tool. Once integrated, these devices can be managed remotely through the Home app on your Apple device. This guide provides a step-by-step process for connecting Somfy devices to HomeKit.
List of Somfy Devices Compatible With HomeKit
Somfy currently offers four devices that are natively compatible with Apple HomeKit: the TaHoma Switch, TaHoma Premium, Somfy Indoor Camera, and Somfy Outdoor Camera. Other devices which aren’t compatible are listed below.
- Roller Shutters
- External Screens
- Projector Screens, etc.
While more HomeKit-compatible products from Somfy are expected in the future, these are the ones available for now. To control these devices remotely through the Home app, an Apple home hub is required, especially when you’re away from home or not connected to the same network.
Steps to Add Somfy Devices to HomeKit using the Home App
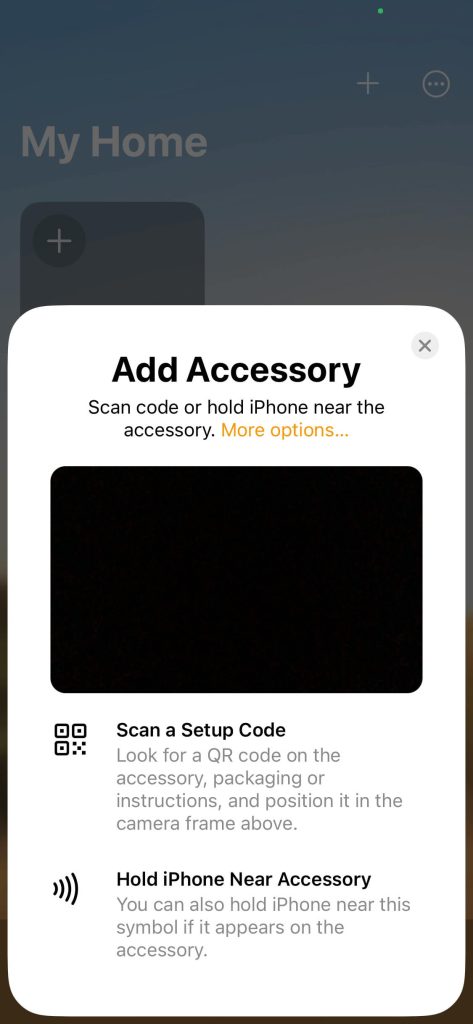
- Open Home: Go to the Home app and hit the “+” icon.
- Add Accessory: Select “Add Accessory” and scan the HomeKit QR code on your TaHoma Switch.

- Complete Setup: Once the Home app detects, hit the TaHoma Switch, assign it to a room, and click Continue to finish the setup.
Now, you can control and manage your Somfy devices directly via the Home app or through Siri voice commands.
Steps to Add HomeKit-Compatible Somfy Cameras to Home App
Connecting cameras to the Home app is also possible via the TaHoma Switch. However, Somfy Indoor and Outdoor cameras are HomeKit-compatible and can be added directly.
- Access the + icon: Open the Home app on your iPhone and click the “+” icon.
- Scan Code: Hit Add Accessory and scan the QR code on the camera. If the camera lacks a QR code or you can’t scan it, check the user manual for the setup code or QR code.
- Choose Camera: After scanning, the Home app will detect the camera. Click on the detected Camera.
- Configure Camera: Assign the camera to a room and rename it. You can also add the camera to custom scenes.
How to Connect Somfy Devices to HomeKit
Most Somfy devices aren’t natively compatible with HomeKit; you need to link them to the TaHoma Switch or TaHoma Premium box before they can be used with HomeKit. The integration process involves setting up the TaHoma app on your iPhone and adding Somfy devices to the TaHoma app. Finally, you should add the Hub to HomeKit.
Set Up Somfy Devices via the TaHoma App
The initial process is carried out using the TaHoma app. So, you must download TaHoma on your iPhone from the App Store or by scanning the QR located on the TaHoma Switch. Once done, launch the app and follow the process.
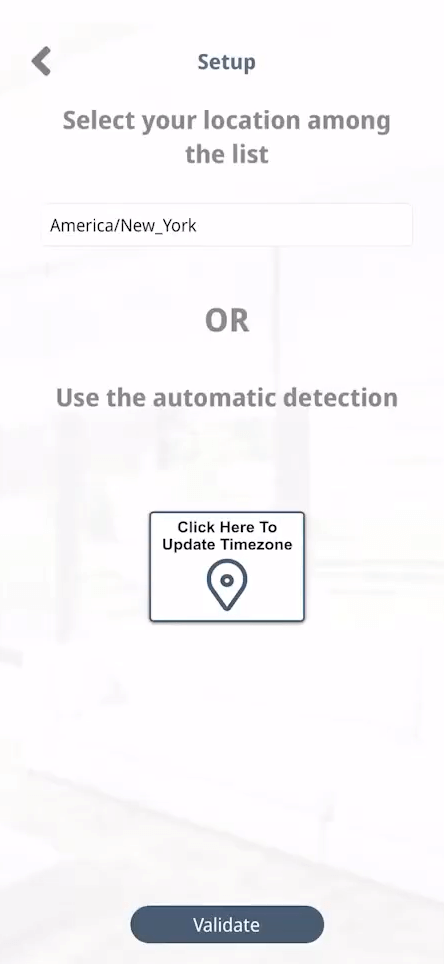
- Initial Setup: Tap the “+” icon and choose your Country.

- Choose TaHoma: Click Next and press the TaHoma Switch option.
- New Installation: Then, pick the Start a new installation option and follow the app’s instructions. The instructions involve connecting your hub to a power source, which the app will automatically detect.
- Access Bluetooth and WiFi: Tap Accept or the green tick to enable Bluetooth and connect the hub to your password-protected Wi-Fi network.
- Agree & Notify: Accept the terms and enable notifications if needed.
- Update App: Once the TaHoma Switch is installed, the app will check for updates. If available, click Install to download them.
Thus, setting up the TaHoma app is successful.
Add Somfy Devices to the TaHoma App
- Add Device: Tap the My Home menu (house icon) and tap Add a Device option.
- Choose Category and Type: Select the category of your device and choose the type of opening it controls.
- Add Remote or Switch: If your device uses a remote or switch, make sure to add them by tapping the Remote or Switch option and following the on-screen prompts.
- Rename & Assign: In the next step, rename your device and assign it to a room.
Note – Rooms assigned in the TaHoma app won’t transfer to the Home app. You’ll need to name and assign the device to a room again in the Home app.
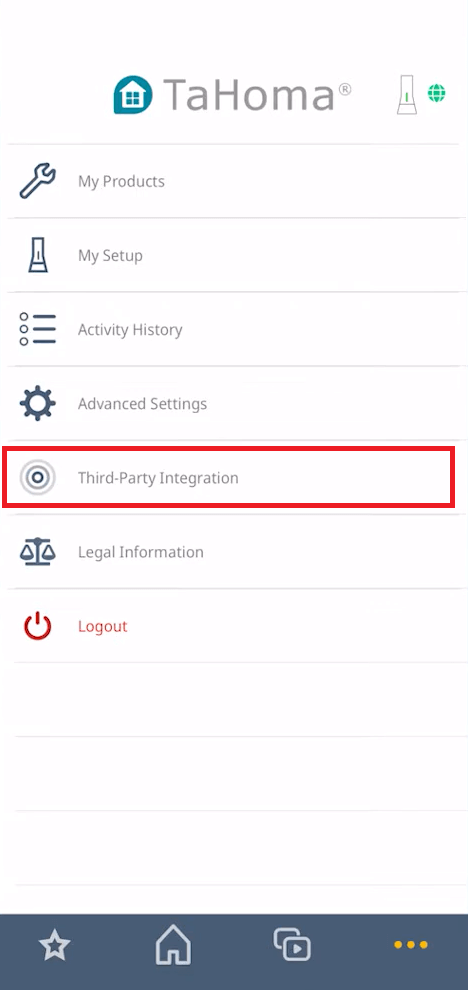
- Integrate HomeKit: Open the app’s home screen and hit the More button (three dots). Choose Third-Party Integration and click on Apple HomeKit. As a result, the instructions will appear. Follow the steps to complete the Somfy-HomeKit integration.

If the Apple HomeKit option isn’t available under Third-Party Integration, you can add devices manually through the Home app.
Benefits of Adding Somfy Devices to HomeKit
Integrating Somfy devices with HomeKit enhances your smart home setup by enabling automation, scene creation, and voice control through Siri.
- Somfy devices can be part of automated routines, such as adding blinds to your morning wake-up scene. The blinds will open when your alarm goes off, and your coffee will begin brewing. Somfy cameras will also activate automatically with scenes like “Leaving Home” or “Night.”
- You can control Somfy devices hands-free with Siri Voice commands. Some examples include:
- “Hey, Siri, show me the front porch camera.”
- “Hey Siri, lower the bedroom blinds.”
- “Hey Siri, turn on the garden camera.”
- “Hey Siri, raise the blinds to 50%.”
FAQ
Yes. You can use alternatives such as HOOBS, Homebridge, Athom Bridge, etc., to add the Somfy devices to Apple HomeKit.
If your Somfy devices aren’t working with HomeKit, ensure your internet is stable, and the devices have power. Try removing and re-adding the devices in the Home app. If problems persist, consider resetting your HomeKit setup.
