Adding LIFX devices to Apple HomeKit is a great way to streamline control over your home’s lighting system. With HomeKit, you can easily manage your LIFX bulbs, create custom lighting scenes, and control your lights remotely using Siri or the Home app. Luckily, LIFX devices are natively compatible with Apple HomeKit, so you can add them effortlessly through the LIFX or the Home app. To learn more about the adding and setup process, refer to the steps in this guide.
Things to Do Before Integrating LIFX Devices into HomeKit
- First, install the LIFX app from the App Store on your iPhone and log in. Make sure to provide location access to the app.
- Turn On the LIFX device and connect it to the iPhone-connected WiFi network. (WiFi network should be 2.4 GHz).
- Make sure to put the LIFX device in pairing mode.
How to Add LIFX to HomeKit via the LIFX App
1. Open Lifx App: Launch the app and hit the + icon on the home screen.
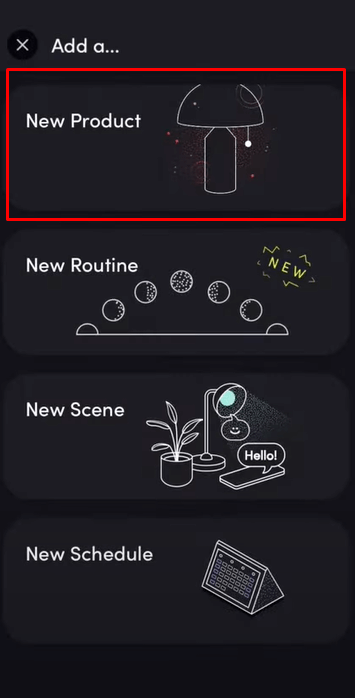
2. Add Product: Click on New Product and select New Light or New Switch.
3. Enter Code: Scan the code using your iPhone or enter the 8-digit code manually. You can see the cod on the light or controller.
4. Add to Home: Next, hit the Add to Home button and select Choose Home (If you have more Home). Wait for the Home app to connect to the light.
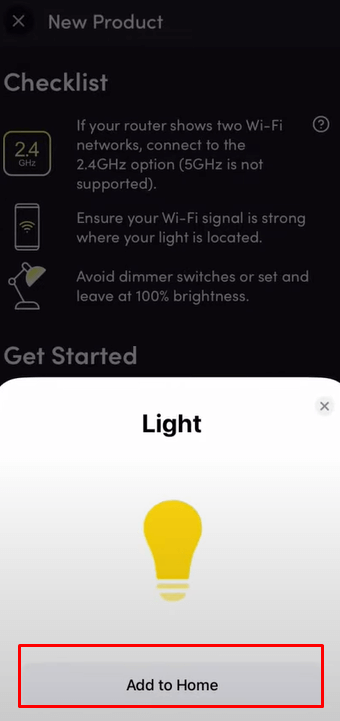
5. Accessory Added: Thus, the LIFX accessory will now be added to the HomeKit.
6. Assign Location: Once done, assign a location for the light on the Home app and hit Continue.
7. Name Device: Provide a name for the light and click Continue. Then, tap Done. Now, your light is set up on the Home app successfully. Use the Home app to control the light remotely.
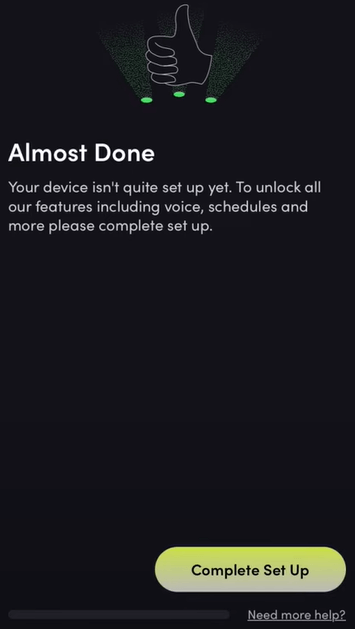
Additionally, tap Complete Set Up on the next screen to complete the setup for the LIFX app. After selecting this option, follow the on-screen instructions to unlock all the features of the device.
Steps to Add LIFX Clean to HomeKit
If you have a LIFX Clean device, use the steps below to add it to the HomeKit.
1. App Device: Open the LIFX app and hit the + icon.
2. New Device Setup: Click New Device and hit Green Arrow.
3. Device Selection: Select the LIFX Clean device.
4. Home Selection: Choose the Home (If you have many). As a result, the HomeKit pairing screen will appear.
5. Pairing Method: Scan the QR code on the LIFX device or enter the pairing code manually shown on the bulb.
6. Naming and Grouping: Assign a location, group, and name of the LIFX device. Thus, the LIFX device has been added, and you can control them using the Home app.
Add Old LIFX Devices to HomeKit via HomeKit Code Recovery
1. Open the LIFX App: Launch the LIFX app and choose the light/switch.
2. Access Settings: Hit the three Horizontal dots and select LIGHT/SWITCH SETTINGS.
3. Pair Option: Choose the PAIR option under the HomeKit tab.
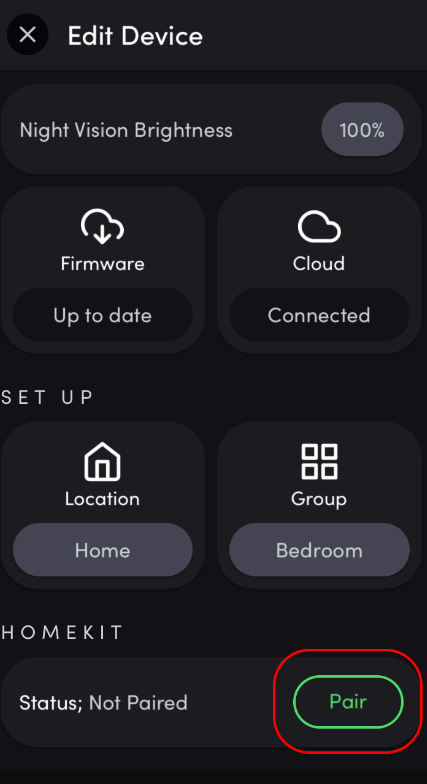
4. Get Code: Click GET CODE. As a result, you will get a code that should be saved for later use.
5. Pair Light: Press the Pair Light/Pair Switch option.
6. No Code: Then, select I DO NOT HAVE A CODE OR CANNOT SCAN.
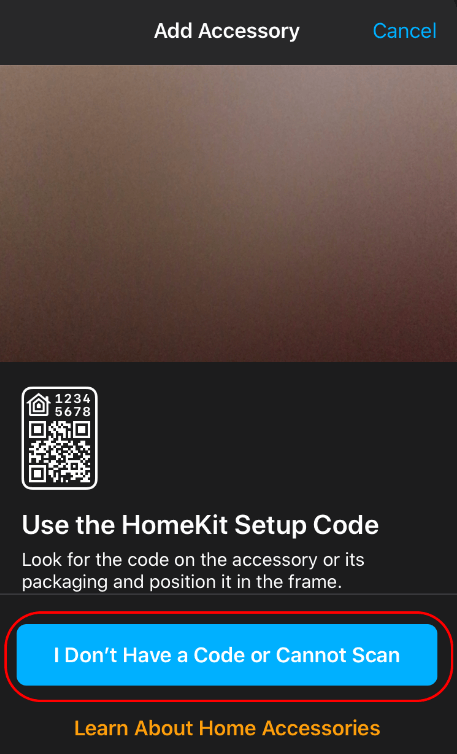
7. Manual Entry: Select Enter Code under the Manual Code option and enter the code that you saved. Thus, the device will be connected to the HomeKit.
How to Add LIFX to Apple HomeKit via the Home App
Before heading to the steps, connect the LIFX device to the power source and turn it on.
1. Open Home App: Launch the Home app on your iPhone and press the + icon.
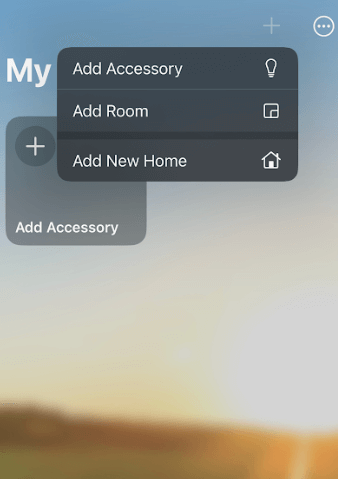
2. Add Accessory: Click Add Accessory and tap Allow if asked for.
3. Scan QR Code: Scan the QR code on the LIFX device or enter the code manually displayed on the device. Otherwise, hold your iPhone near the LIFX device.
4. Device Added: The device will be added to the HomeKit. Following it, assign the room/location and rename the device to use it.
Benefits of Adding LIFX to HomeKit
Adding LIFX lights to HomeKit offers several benefits that enhance your smart home experience:
- Centralized Control: Integrating LIFX with HomeKit allows you to control your lights using the Apple Home app, providing a common interface for managing all your smart devices.
- Voice Commands: With Siri integration, you can easily control your LIFX lights through voice commands, making it convenient to adjust lighting without needing a physical remote.
- Automation and Scenes: You can create automated routines and custom scenes in the Home app that work with other HomeKit-compatible devices. For example, you can set your LIFX lights to dim when a movie starts or change colors based on the time of day.
- Remote Access: You can control your lights remotely from anywhere using your iPhone or iPad, providing flexibility and security.
- Energy Efficiency: You can monitor and schedule your lights, helping to reduce energy consumption and lower utility bills.
FAQ
The latest LIFX Switch has codes at the back panel. If you own an old switch, you can get the code on the LIFX app by selecting I DO NOT HAVE A CODE OR CANNOT SCAN.
To fix the LIFX not responding or showing a “Not Found” error on HomeKit, you should reset or update the LIFX device.
