Govee offers several home appliances, and the ones with Matter compatibility can be integrated with the Homekit. For incompatible devices, you need the help of third-party bridges like HOOBS. Once integrated, you can control them easily with simple voice commands. You can ask Siri to turn off/on the lights, change the color of the light, and more.
In this guide, we will explain the Homekit integration steps for both compatible and incompatible Govee devices.
How to Integrate Matter-Compatible Govee Devices with HomeKit
If you have Govee devices like the M1 Strip (2m) or M1 Strip (5m) that are compatible with Matter, follow these steps to add them to your HomeKit. Make sure to complete this process within 15 minutes to avoid starting over.
1. Power On the Device: Plug your Govee Smart light into the power source and turn it on.
2. Install the Govee App: Install the Govee Home app on your iPhone from the App Store.
3. Open the Govee App: Launch the Govee app and accept the User Agreement and Privacy Policy.
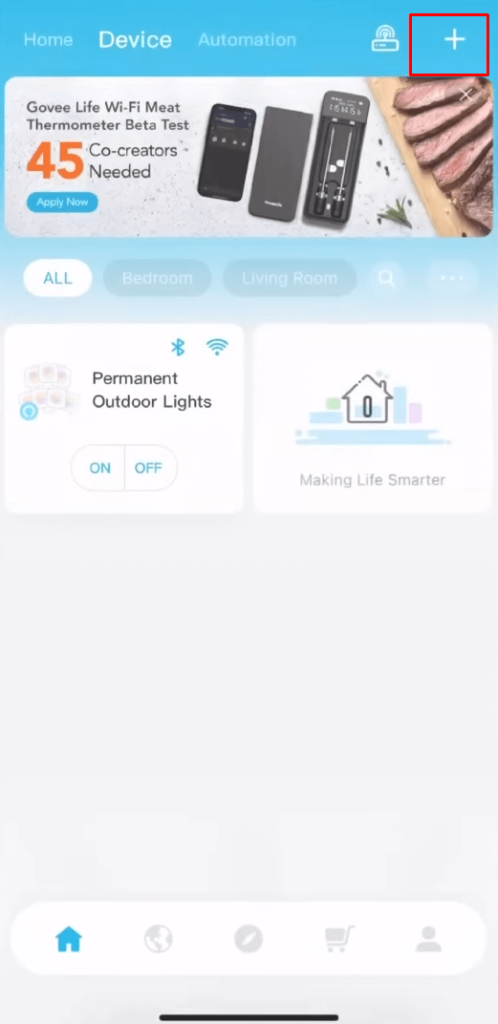
4. Add the Device: On the home screen, tap the + icon → Bluetooth.

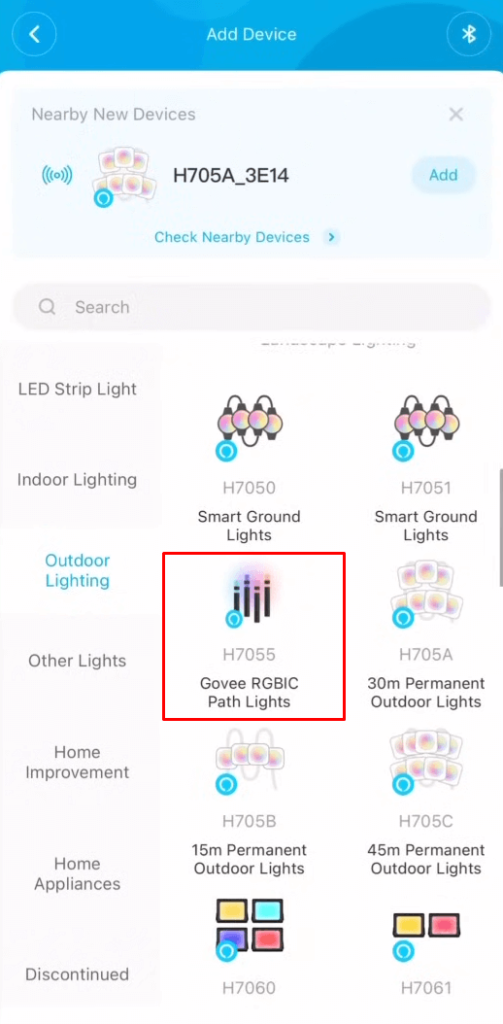
5. Connect the Light: From the list, select the Govee smart light. Now, press the On/Off button on the device to pair with the app.

6. Generate the Matter Code: Tap the Settings icon and select Matter to get the QR code and Matter device number. Take a screenshot of it.
7. Add Accessory on Home app: Now, launch the Home app and select the + icon. Then, select Add Accessory → More options.
8. Enter the credentials: Tap My Accessory Isn’t Shown Here →. Enter a Setup Code and then enter the Matter device number or scan the QR code that you have saved as a screenshot.
9. Complete Setup: Tap Add to “Apple Home”. That’s it. Your Govee smart light has been successfully integrated into HomeKit.
How to Integrate Govee Smart Lights to HomeKit Using HOOBS Bridge
1. Power Up HOOBS: Start by turning on your HOOBS device. Then, access the HOOBS client app on your PC by visiting its official website. Login to your account and access the Plugins section.
2. Install Govee Plugin: Search for the Govee plugin and install it.
3. Input Your Credentials: Click on Configuration and enter the code provided below. Replace the email and password fields with the Email ID and password registered with the Govee.
{
   "name": "Goove",
   "username": "your-govee-email",
   "password": "your-govee-password",
   "platform": "Govee"
}
4. Save Your Settings: Click on Save Changes to apply the configuration after entering your credentials.
5. Integrate HOOBS with HomeKit: Open the Home app on your smartphone and add the HOOBS device to your setup. To do that, go to the Home app → tap the + icon → select Add Accessory → scan the QR code → choose Location → enter a Name → tap Done.
By completing these steps, Govee smart lights will integrate with the HomeKit through HOOBS.
How to Control Govee Smart Lights with HomeKit Using Siri
Once your Govee smart lights are set up with HomeKit, you can manage them easily with Siri. Simply say Hey Siri to activate the assistant, then use these commands to control your lights:
- Switch off the lights in “Your Room”.
- Set the light color to “Color” in “Your Room”.
- Activate RGB mode on the lights in “Your Room.”
- Turn on the lights in “Your Room”.
These commands make it simple to adjust your smart lighting with just your voice.
FAQ
Yes. Apart from the HOOBS bridge, you can also use the Athom bridge to integrate Govee devices with Homekit.
