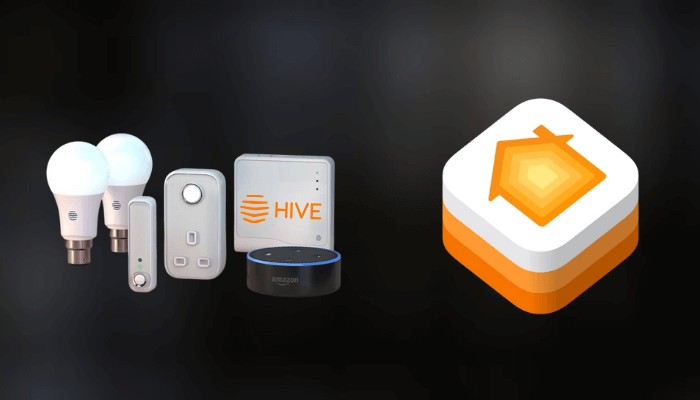
Integrating Hive devices into Apple HomeKit provides a seamless way to control your smart home devices from the Home app on your iPhone. This integration provides automation, scheduling, and remote access for all your Hive devices. You can add the Hive device with HomeKit via the Hive Hub and Hive app. If the device is incompatible, you can easily integrate it using bridge platforms, like HOOBS. This article will guide you in adding the Hive devices to Apple HomeKit.
How to Add Hive Devices to HomeKit
First, you have to install the Hive app from the App Store on your iPhone. Also, create a Hive account on their website.
Setting Up Hive Hub
1. Power & Ethernet Connection: Connect the Hub device to the power source and plug the Ethernet cable into the Hub device LAN port.
2. Login: Sign in to the Hive account through the Hub app on your iPhone or via the hivehome.com website.
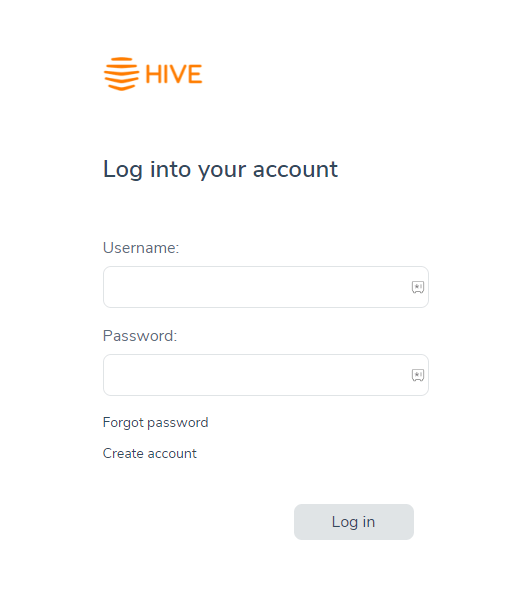
3. Enter Hub ID: Provide the Hub ID (found on the back of the Hub device panel). Thus, the Hub device and the Hive account account will be merged.
Adding Hive Accessories to HomeKit
As a prerequisite, connect the iPhone to the WiFi to which you have connected the Hive Hub.
1. Open Hive App: Launch the Hive app and hit the three horizontal lines icon.
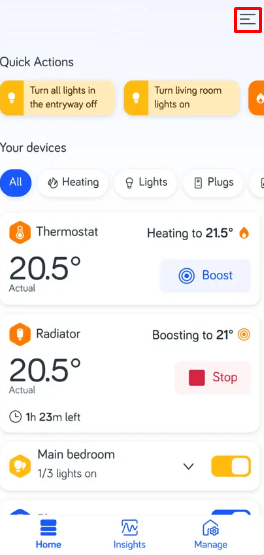
2. Install Devices: Click the Install Devices option and choose HomeKit beneath the Works with Hive tab.
3. Getting Started: Then, hit Get Started and choose the option OK.
4. Direct to Home App: Click the Open Home App option and tap Add to Home.
5. Assign Room: Scroll to the Bridge Location tab and assign a room/location for the Hive hub.
6. Finalize Setup: Rename the room and hit Continue. Thus, the integration is successful.
Once you open the Home app, you can find the Hive device there. Now, you can control all the Hive devices, like Hive Active Heating, Hive Radiator Valves, Hive Lights, and Hive Active Plugs, from the Home app itself.
How to Add Hive Devices to HomeKit using HOOBS
To add Hive devices that are incompatible with HomeKit, you need to use the HOOBS device.
Set Up HOOBS
1. Power Connection: Plug the HOOBS device into the power socket, and the indicator light will turn red to green. This indicates that it is ready for an internet connection.
2. Installation: Install and set up HOOBS on your desktop from the official HOOBS website.
3. Login: Following the installation, launch the app and sign in using your credentials.
Install the Hive Plugin
1. Access Plugin: Open the HOOBS dashboard and go to the Plugins section.
2. Search Hive Plugin: Search for the Hive plugin.
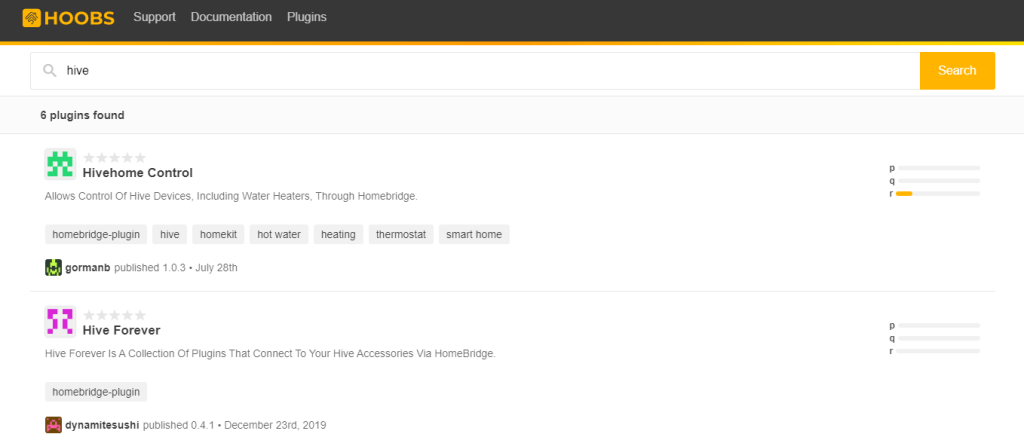
3. Download Plugin: Install the plugin, and then configure it by entering your Hive account credentials in the plugin settings.
Configure the Plugin
1. Configure: After installation, configure the Hive plugin by adding it to the config.json file. You’ll need to input details like your Hive login information to allow the plugin to communicate with your Hive devices.
2. Save the Changes: Save the configuration, and then restart HOOBS.
Sync Hive Devices to HomeKit
Once the plugin is set up, HOOBS will act as a bridge between Hive and HomeKit.
1. Launch Home App: Open the Home app on your iPhone.
2. Add Accessory: Tap the “+” button to add a new accessory.
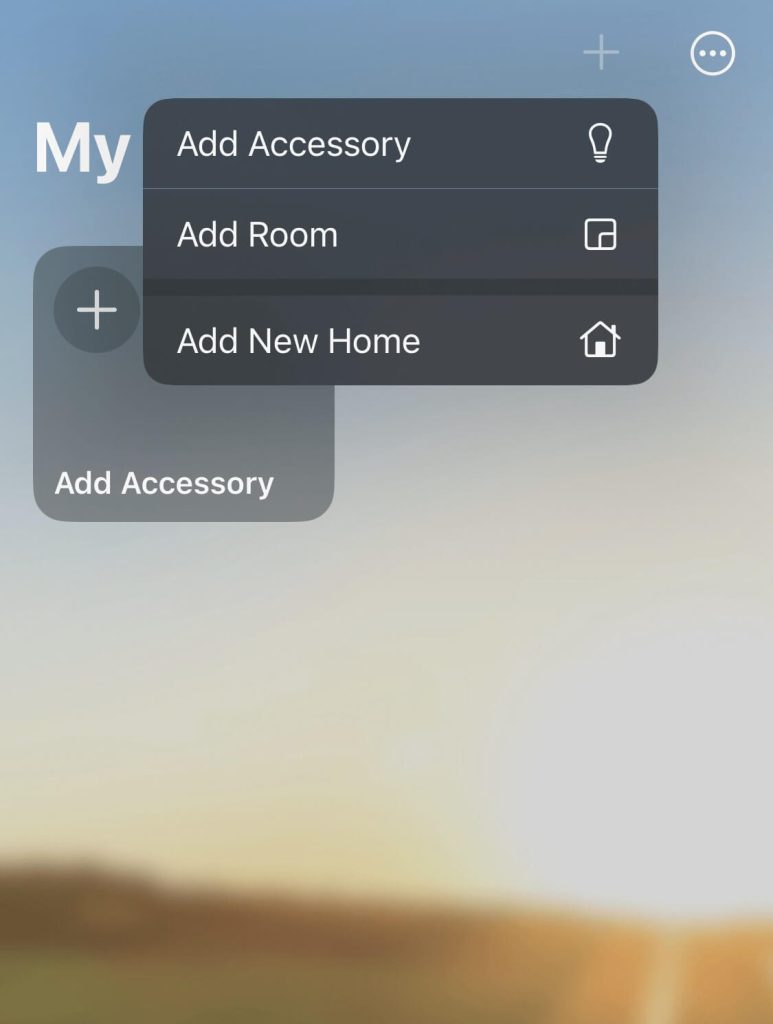
3. Choose HOOBS: Select Add Accessory and then choose the HOOBS server as the accessory to add.
4. Scan QR: Scan the QR code shown on the HOOBS dashboard with your phone’s camera to link HOOBS with HomeKit.
5. Complete Setup: Follow the instructions to finish the setup. You can now control your Hive devices using the Home app on your Apple device.
FAQ
To fix this, restart your Hive Hub or HOOBS device and ensure it’s connected to the network. Also, restart the Home app or your Apple device to refresh the connection.
If not, remove and re-add the devices to the Hive Hub or HOOBS.
