Integrating your Honeywell thermostat with Apple HomeKit allows you to easily control your home’s temperature, whether at home or away. If your Honeywell Thermostat is compatible with HomeKit, you can directly connect it to the Home app. For incompatible devices, you can use the HOOBS app to link it with your iPhone. This guide provides step-by-step instructions on connecting your Honeywell thermostat to HomeKit.
Apple HomeKit Compatible Honeywell Thermostat Devices
- T9 Honeywell Home Smart Thermostat
- Honeywell T10 Pro Smart Thermostat
- Honeywell Lyric T5 Wi-Fi Thermostat
- Honeywell Home Lyric T6 Pro Wi-Fi Thermostat
- Honeywell Lyric Round Smart Thermostat
Steps to Integrate Honeywell Thermostat with HomeKit
Before connecting the thermostat to HomeKit, install it in your desired location. Ensure it is correctly connected to your home’s heating and cooling system. Once installed, you can move on to the setup process. The integration process involves adding the Honeywell Thermostat to the Resideo app. Once done, you can easily add it to the Home app.
Set Up Honeywell Thermostat Using the Resideo App
Honeywell’s Home app has been renamed to the Resideo Smart Home app. Ensure to connect your Thermostat to a Wi-Fi network before adding it to HomeKit.
1. Download Resideo: Go to the App Store and download the Resideo Smart Home app.
2. Create an Account or Log In: Run the app and sign in to your existing Resideo account or create a new one.
3. Add the Thermostat: Tap the + icon or Add Device and select your thermostat from the list.
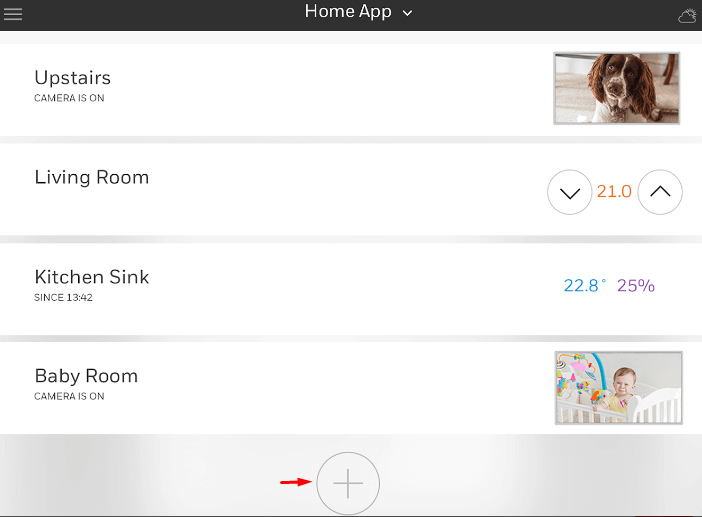
4. Start Setup on the Thermostat: On the thermostat, tap the Start Setup button and follow the on-screen prompts.
5. Connect to WiFi: The app will prompt you to connect the thermostat to your home’s WiFi network. When the network name appears on the thermostat, press and hold the center of the screen for 5 seconds to connect it.
6. Complete Bluetooth Setup: After connecting to WiFi, follow the app’s prompts to complete the Bluetooth setup.
Once the thermostat is set up in the Resideo app, you can add it to HomeKit via the Home app.
Add Honeywell Thermostat to Apple HomeKit
1. Open the Home App: Run the Home app on an iPhone. If you don’t have the app, get it from the App Store.
2. Scan the HomeKit Setup Code: In the Resideo app, tap the Menu icon and select Connect HomeKit. This will display a QR code. In the Home app, tap the “+” icon, select “Add Accessory,” and scan the QR code displayed on the thermostat.
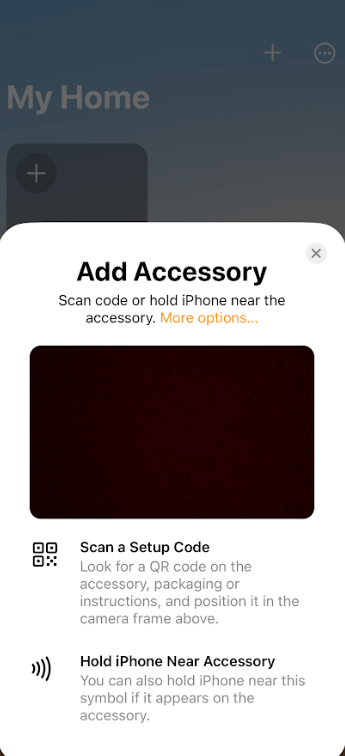
3. Assign a Name and Location: After scanning the code, follow the instructions to name your thermostat and assign it to a specific location in your home (e.g., “Living Room” or “Bedroom”).
4. Complete the Setup: Once the thermostat is added, tap “Continue” and “Done” to complete the process.
Thus, integrating the Honeywell Thermostat with HomeKit is successful.
Steps to Add Incompatible Honeywell Thermostat to HomeKit Using HOOBS
If your Honeywell thermostat is not natively compatible with Apple HomeKit, you can use HOOBS (Homebridge Out of the Box) to bridge the compatibility gap.
1. Download HOOBS: Install the HOOBS application from the official HOOBS website, set it up on your computer, and log in.
2. Find Plugins: Go to the Plugins tab on the HOOBS dashboard and search for a compatible Honeywell plugin or Resideo.
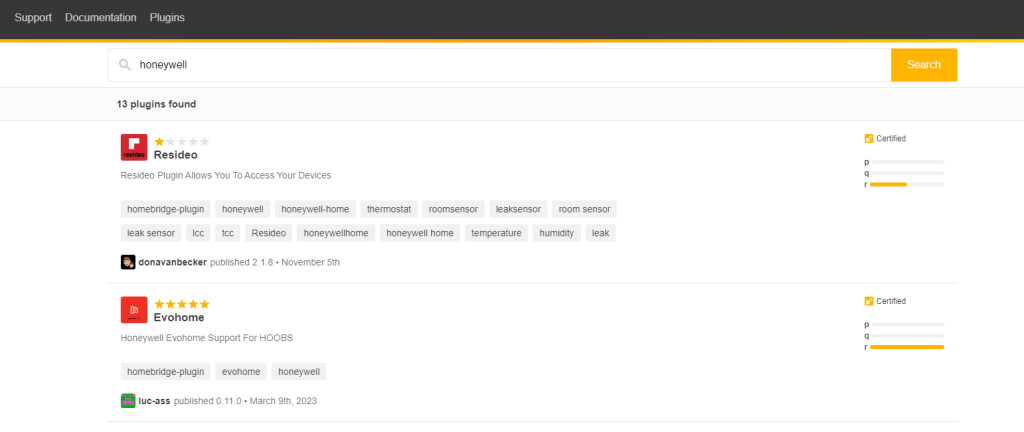
3. Install the Plugin: Select and install the desired Honeywell plugin. Once installed, open the plugin to configure it.
4. Configure the Plugin: Input the necessary details, such as your Honeywell account credentials (username and password) or any API keys required for integration. Save the configuration.
5. Restart HOOBS: Restart the HOOBS server to apply the plugin changes and ensure the configuration takes effect.
6. Generate QR Code: Navigate to the plugin settings and generate a HomeKit-compatible QR code that can be scanned during the setup.
7. Add in Home App: Open the Home app on your iPhone, tap Add Accessory, and scan the QR code generated by HOOBS.
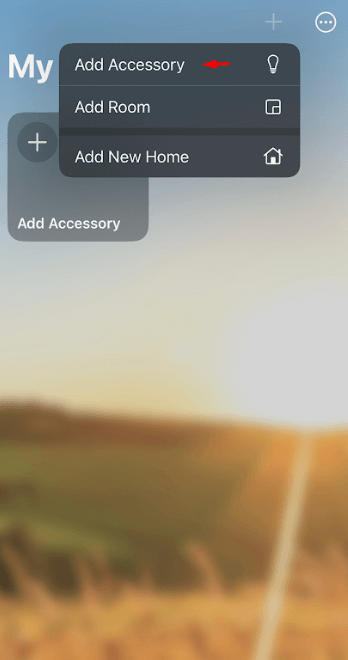
8. Name and Finalize: Assign a name and room for the Honeywell thermostat, then finalize the setup by selecting Done.
FAQ
Restart the thermostat, ensure it is connected to Wi-Fi, and reboot the HomeKit hub. If the issue persists, reset the thermostat and re-configure it to the Home app.
