For those with smart home devices that lack HomeKit compatibility, the Hubitat Elevation Hub C-8 offers a powerful solution. This versatile hub allows you to seamlessly integrate a wide range of Z-Wave and Zigbee devices into your Apple HomeKit ecosystem. By adding the Hubitat Hub, you not only gain access to these additional devices but also enjoy simplified control through the Home app. This guide will illustrate how to integrate the Hubitat Elevation Hub with Apple HomeKit.
How to Integrate Hubitat Elevation Hub with Apple HomeKit
1. Unbox and Connect: Plug in the Hubitat Elevation Hub C-8 to your home network via Ethernet or Wi-Fi as per the instructions.
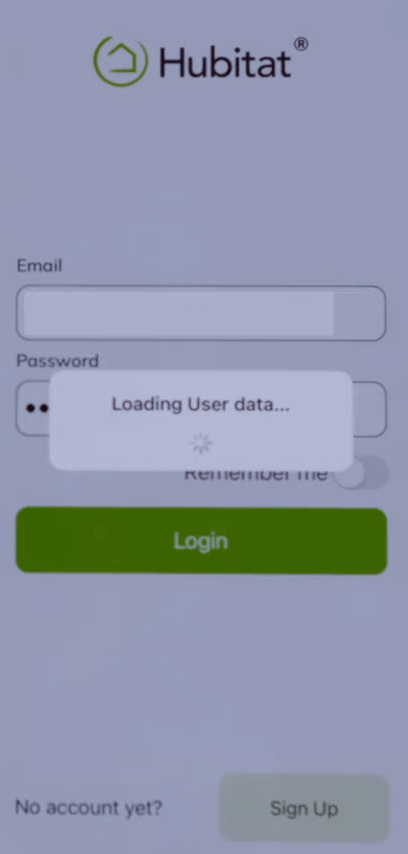
2. Register on Hubitat Site: Open the Hubitat app (App Store) or website and follow the prompts to register your Hubitat Hub. If you’re new, create a Hubitat account.
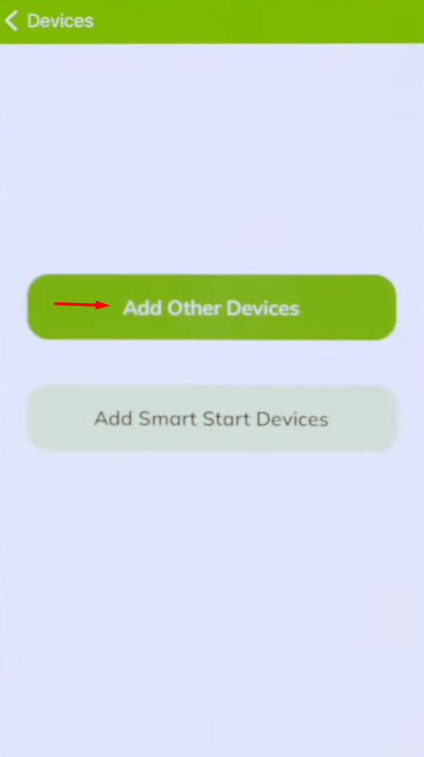
3. Add Devices: In the Hubitat app, go to the Devices section and select Add Device. You can choose based on device type and brand or add manually. Follow the prompts to pair each device with the Hubitat.
4. Access Built-In Apps: In the Hubitat app, navigate to Apps and hit +Add Built-In App.
5. Select HomeKit Integration: Choose the HomeKit Integration app from the list, then tap on Enable HomeKit Integration.
6. Select Devices: A list of compatible devices appears; select the ones you want to add to HomeKit. Devices unsupported by HomeKit will appear under Incompatible Devices.
7. Generate QR Code: Scroll down to the end of the HomeKit Integration page, where you’ll see a QR code and pairing code. Hit the Done option.
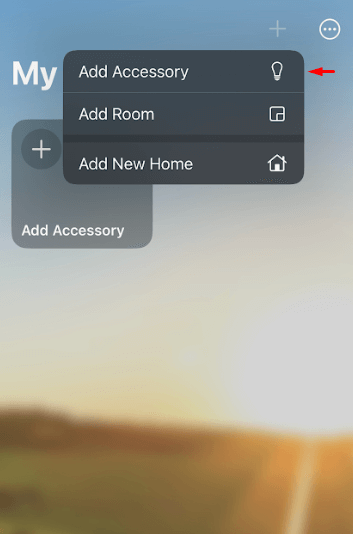
8. Open Apple Home App: On your iPhone, open the Home app, tap the “+” icon, and choose Add Accessory.
9. Scan QR Code: Use your iPhone’s camera to scan the QR code from Hubitat. If an alert appears saying Uncertified Accessory, tap Add Anyway.
10. Automation: If you own an Apple TV or HomePod, you can use automation features for enhanced control, like location-based triggers for arriving and leaving home.
11. Device Naming: Name each device as it appears in the Home app and assign it to the appropriate room.
12. Test Device Control: Test Siri commands or manual control through the Home app to ensure everything is working.
Steps to Connect Hubitat to Apple HomeKit Using Home Assistant
1. Install: Download and install Home Assistant on your computer.
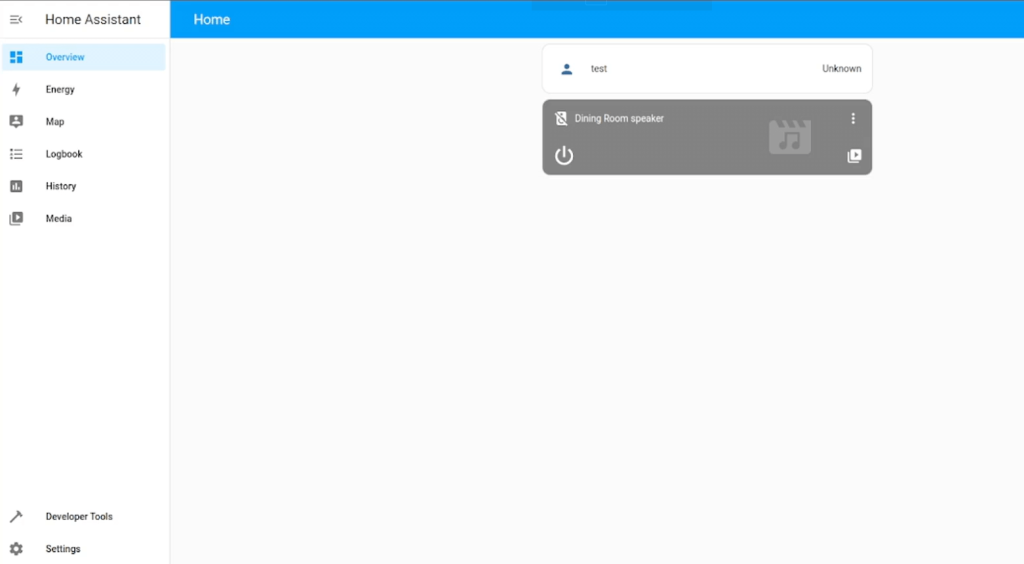
2. Setup Hub: Ensure you have an Apple device, like an iPhone, to act as the HomeKit hub.
3. Add Integration: In Home Assistant, go to Integrations under Settings and add Apple HomeKit Controller.
4. Configure: Follow the prompts to link your Hubitat devices through Home Assistant.
5. Restart: Restart Home Assistant to apply settings.
6. Disconnect: Temporarily disconnect the device from Apple HomeKit if already connected.
7. Reload: Reload Home Assistant to link Hubitat devices.
8. Test: Open the Apple Home app to verify that Hubitat devices are accessible.
Benefits of Integrating Hubitat Elevation Hub with Apple HomeKit
Here are some benefits of integrating Hubitat Elevation Hub into the Apple HomeKit.
- Future-Proofed Compatibility: Easily expand your setup with new devices from multiple brands and protocols, all managed in one place.
- Unified Control: Connect and manage Z-Wave, Zigbee, and other non-HomeKit devices directly in the Apple Home app, eliminating the need to switch between different apps.
- Voice Control with Siri: Use Siri to control connected devices, enabling hands-free operation for tasks like turning off lights or adjusting thermostats.
- Reliable Connectivity: With Hubitat as a local hub, devices respond more quickly and consistently, as they aren’t solely dependent on cloud services.
FAQ
Hubitat can be integrated with Homebridge by using the Homebridge-Hubitat plugin.
