If you own a Schlage Encode Plus or Schlage Sense, you can link it with Apple HomeKit for a unified smart home ecosystem. This integration lets you control and monitor your lock seamlessly via the Home app. If you have a HomeKit-compatible Schlage device, you can directly integrate it using the Schlage Home app. For incompatible Schlage Locks, you can rely on the HOOBS app. This article delivers instructions to pair Schlage Locks into Apple HomeKit.
Steps to Set Up Schlage Smart Locks with HomeKit
Begin by installing the lock on your door using the instruction manual provided. Ensure the lock is securely fastened and powered with functional batteries before moving to the software setup.
Pair the Lock with the Schlage Home App
The Schlage Home app is essential for initial configuration and HomeKit integration.
1. Get the App: Install the Schlage Home app via the App Store on an iPad or iPhone.
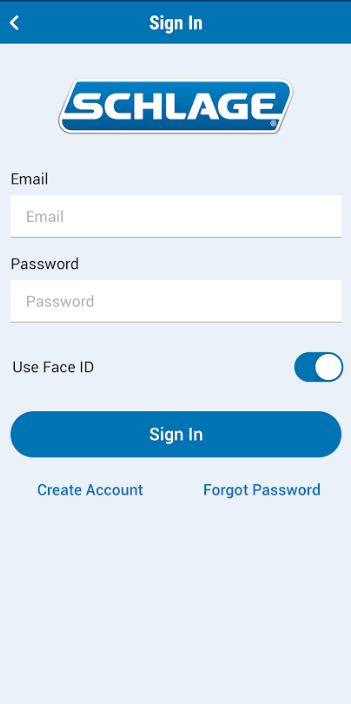
2. Create or Sign In to Your Account: Open the app and sign in or create a new account if you are a first-time user.
3. Add the Lock: Tap the “+” icon and select your lock model (e.g., Encode Plus).
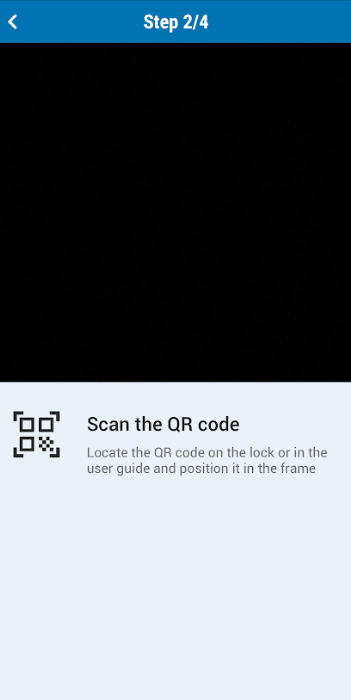
4. Scan QR Code: Follow the on-screen instructions to pair the lock. Now, you should scan the QR code situated under the battery cover.
5. Pairing Button: Press the Pairing button on the lock to initiate the connection.
6. Connect to WiFi: Select your home’s WiFi network, input the password, and wait for the lock to connect. If you see a green tick, it confirms successful pairing.
7. Customize Lock Settings: Name the lock, assign an access code, and specify its location within the app.
Add the Lock to Apple HomeKit
Once paired with the Schlage Home app, proceed with the HomeKit integration.
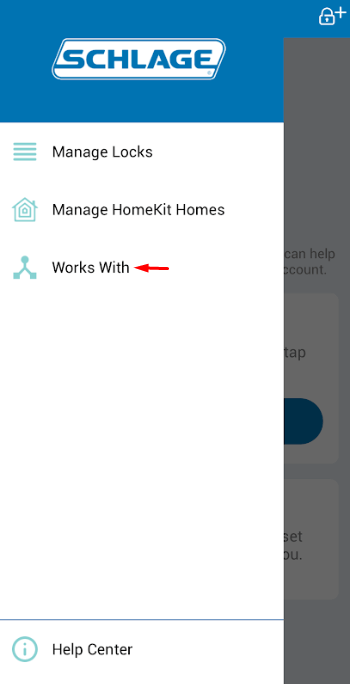
1. Navigate to the Works With Section: In the Schlage Home app, open the menu and select Works With.
2. Choose Apple HomeKit: Select HomeKit as the integration option and click Get Started.
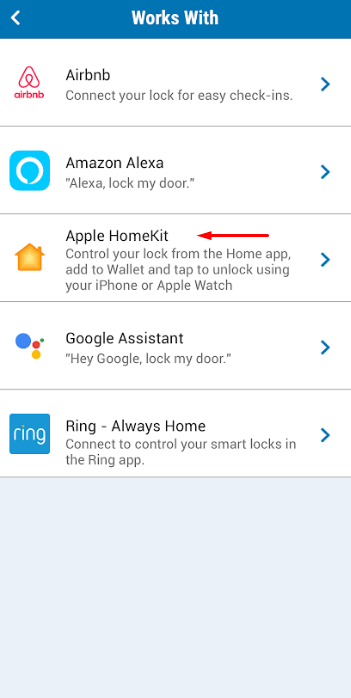
3. Scan the HomeKit Code: Locate the HomeKit QR code under the lock’s battery cover. Use your iPhone camera to scan it or manually input the code if scanning fails.
4. Complete the Setup: Add the lock to your HomeKit home, assign it a name and location, and enable Home Key features such as Express Mode or Face ID authentication.
Steps to Add Incompatible Schlage Locks to HomeKit Using HOOBS
If your Schlage lock is not natively compatible with Apple HomeKit, you can integrate it using HOOBS (Homebridge Out Of the Box) to make it accessible through the Home app.
1. Download HOOBS: Visit the official HOOBS website to download the HOOBS app for your computer and sign in with your account credentials.
2. Access the Plugins Section: In the HOOBS Dashboard, navigate to the Plugins tab to search for compatible plugins.
3. Search for Schlage Plugin: Use the search bar to find a Schlage plugin or a generic plugin that supports Schlage locks.
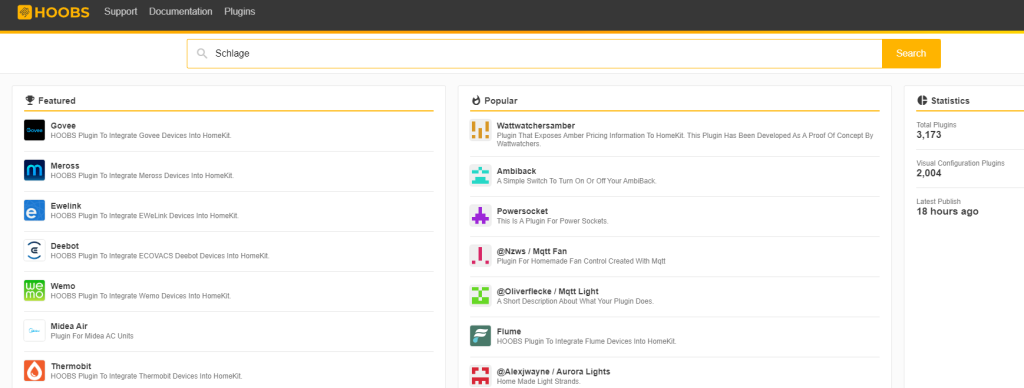
4. Install the Plugin: Select the Schlage plugin, click Install, and wait for the installation to complete. Once installed, click on the plugin to configure it.
5. Enter Configuration Details: Input the necessary configuration details for your Schlage lock, including model and Wi-Fi settings.
6. Save Configuration: After entering the required details, save your configuration, then restart HOOBS to apply all settings.
7. Open the Home App: Open the Apple Home app and tap the + icon. If you can’t find the app, you can install it by visiting the App Store.
8. Add Accessory: Select Add Accessory and scan the QR code generated for your Schlage lock on the HOOBS plugin page.
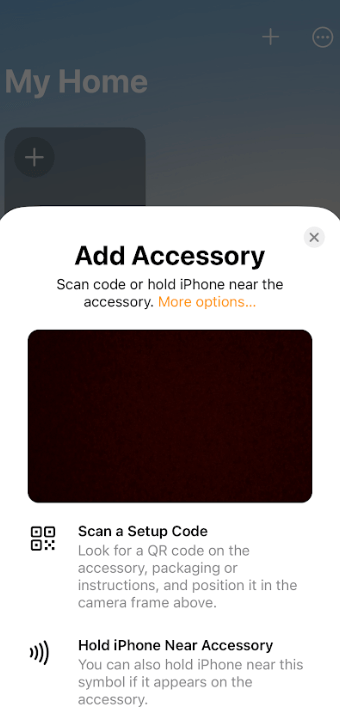
9. Assign Device Name and Location: Follow the prompts to name your Schlage lock and specify its location in your home.
10. Complete Setup: Press Done to finish the setup. Your Schlage lock is now available for control in the Home app and can be operated with Siri commands.
FAQ
Some benefits are seamless remote control, voice commands via Siri, and enhanced security through automation and monitoring.
