Integrating your Twinkly Generation II device with Apple HomeKit brings a new level of convenience and versatility to your smart home setup. By linking your Twinkly lights to HomeKit, you gain the ability to control your lighting with ease, using your iPhone, iPad, or even voice commands through Siri. This integration not only centralizes control of your smart home devices but also allows you to create automated routines and custom scenes that fit your lifestyle perfectly. This guide walks you through setting up the Twinkly devices with Apple HomeKit.
Steps to Integrate Twinkly Devices to HomeKit Using Twinkly App
If you own a HomeKit-compatible Twinkly Generation II device, you can directly add them using the Twinkly app. As a prerequisite, get the Twinkly app on your iPhone from the App Store and log in.
Add the Twinkly Device to the Twinkly App
1. Device Detection: Open the Twinkly app to detect your device automatically. If it doesn’t detect your device, manually select it from the list.
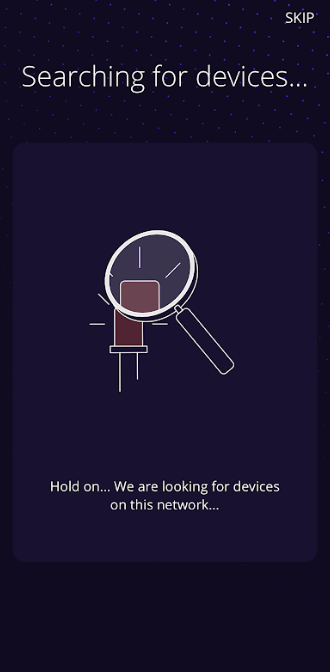
2. Connection Setup: Hold the button on your Twinkly device until the LED turns greenish blue, then release it to establish a connection.
3. Connection Method: Follow the on-screen prompts to select a connection method.
- Home/Office WiFi: Enter your WiFi credentials for a stable connection.
- Direct WiFi: Connect to the Twinkly_xxxxx network using the default password.
3. Connection Confirmation: Confirm that the LED turns solid green, indicating a successful connection.
Add Devices to HomeKit
1. Device Selection: In the Twinkly app, navigate to the Devices section and select your device.
2. Enable HomeKit: Tap on Apple HomeKit and enable the feature.
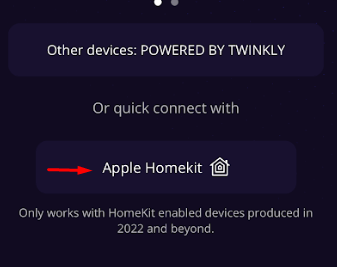
3. Generate Code: The app will generate a HomeKit setup code.
4. Add Device: Click Add Device to Home and select OK.
5. Name & Location: Assign the name, location and tap OK.
6. Finish Integration: Finally, press Done to end the integration process.
After enabling the HomeKit on the Twinkly app, you can add the Twinkly devices using the Home app. Open the Home app → Click the + icon and select Add Accessory → Scan the QR code or Enter the Code manually → Assign Room and Name → Done.
How to Add Incompatible Twinkly Devices to Apple HomeKit Using HOOBS
1. Install HOOBS: Download HOOBS on your PC from its official website and install it. Then, run the HOOBS app and log in with valid credentials.
2. Access Plugins: Open the HOOBS dashboard and go to the Plugins tab.
3. Find Twinkly Plugin: Search for a Twinkly plugin or a generic lighting plugin.
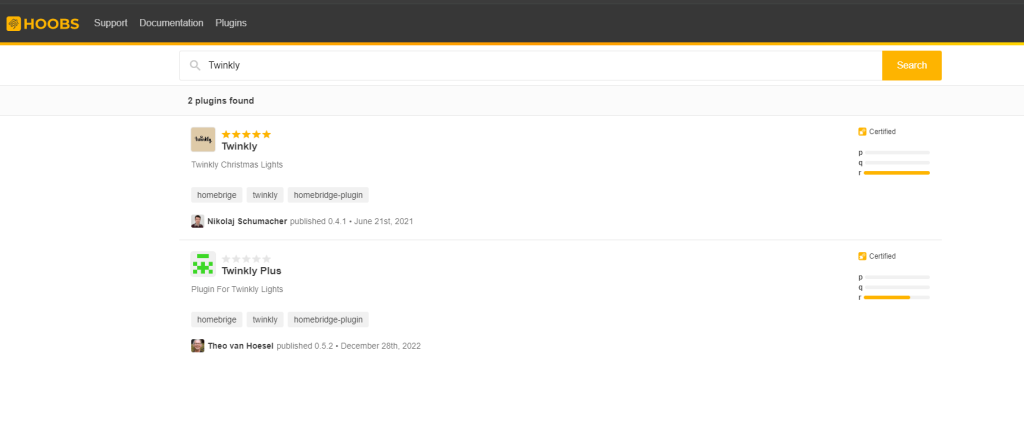
4. Install Plugin: Select and install the plugin, configure it with details like your device’s WiFi settings.
5. Restart HOOBS: Save changes and restart the HOOBS app.
6. Use the Home App: Open the Apple Home app, tap Add Accessory, and scan the QR code assigned to Twinkly devices on the HOOBS plugins tab.
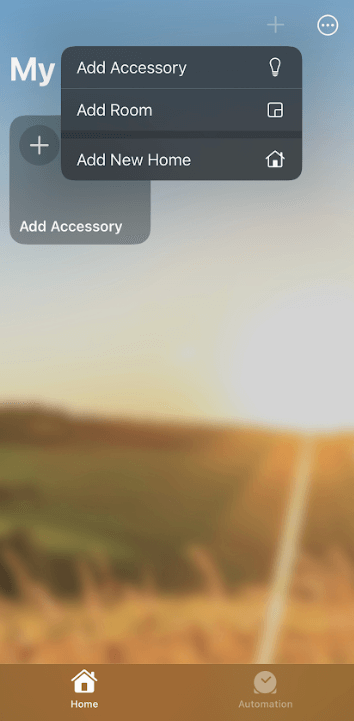
7. Name and Locate Device: Assign a name and location for easy access.
8. Finalize Setup: Tap Done to complete integration and control your Twinkly device through HomeKit.
FAQ
You can connect up to 10 Twinkly devices to Apple HomeKit using the Twinkly app.
