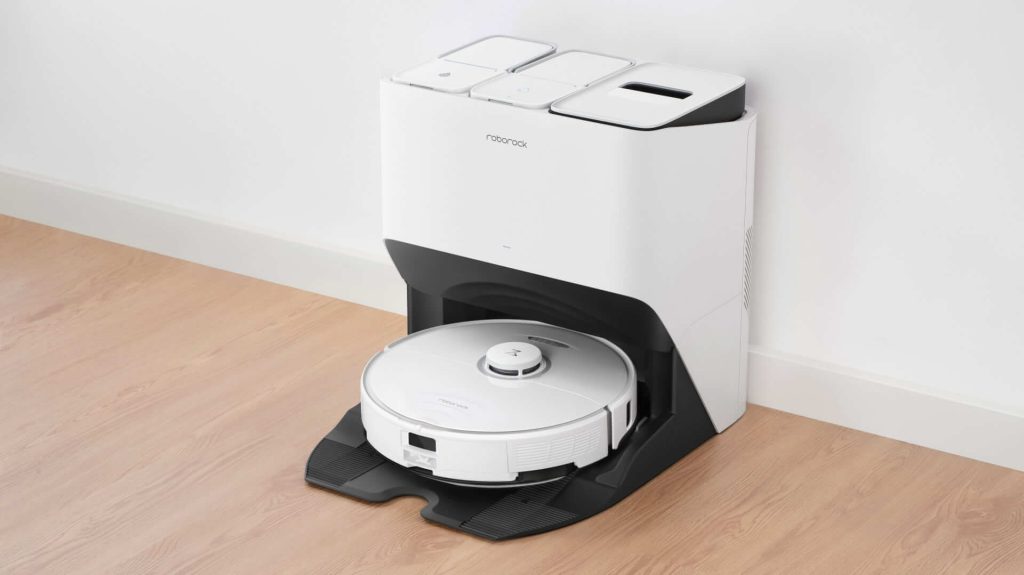
Roborock vacuums are a top choice for smart homes, but integrating them with Apple HomeKit requires a bit of extra effort. Although they don’t have native HomeKit support, you can still connect your Roborock devices using third-party bridges like HOOBS, which allow you to control them via the Home app or Siri voice commands. Follow this guide to learn how to easily set it up step by step.
How to Add Roborock Vacuums to Apple HomeKit Using HOOBS
As mentioned earlier, Xiaomi Roborock vacuums aren’t directly compatible with Apple HomeKit. However, you can easily connect them to your Home app using HOOBS, a user-friendly device designed to create a bridge between incompatible smart devices and HomeKit. HOOBS stands out as an excellent option for bringing Roborock into your HomeKit ecosystem.
Set Up HOOBS
To set up HOOBS, ensure you have a reliable internet connection and a stable power supply on your desktop for optimal performance.
1. Power On HOOBS: Plug your HOOBS device into a power outlet and turn it on. A red LED light will indicate that it has power.
2. Connect HOOBS to the Internet: Use either an ethernet cable or a wireless connection to link HOOBS to the Internet. The red LED will turn green, indicating a successful connection.
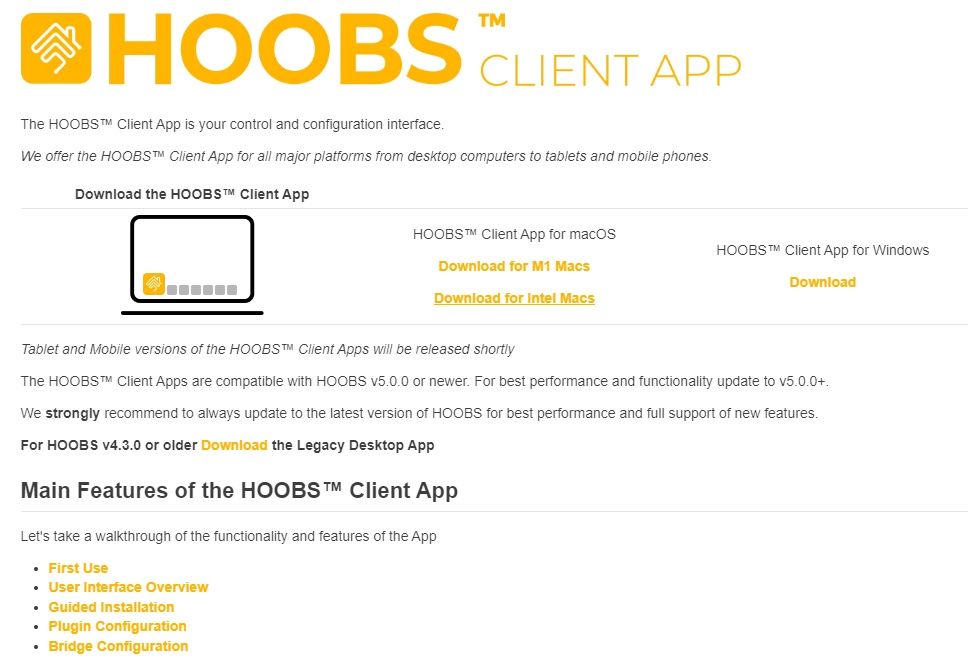
3. Download HOOBS Client: On your desktop, download the HOOBS Client app from the official HOOBS website.

4. Add HOOBS to the App: If this is your first time setting up HOOBS, use the Network Scanner in the app to add the device. If HOOBS is already set up, log in to your existing HOOBS account instead.
5. Complete Setup: When your HOOBS device appears in the app, click on it and enter the required details on the setup page. Click Finish Setup to complete the process.
6. Manual Addition: If HOOBS doesn’t show up automatically, you can manually add it by entering its IP address.
7. Create an Account: Once HOOBS is added, you’ll be taken to a login page where you can set up your account.
Install and Configure the Plugin
Plugins are essential to HOOBS, enabling integration with devices like Xiaomi Roborock. Once HOOBS is set up, you’ll need to install the appropriate Plugin to link Roborock with HomeKit.
1. Access Plugins: From the HOOBS home screen, click on the Plugins tab located on the left side.
2. Search for Plugin: Enter “Xiaomi Roborock Vacuum Plugin” in the search bar and press Search.
3. Install Plugin: Click Install next to the Plugin and wait for the installation to finish.
4. Gather Configuration Data: Before configuring the Plugin, ensure you have the accessory name, IP address, and token value ready.
5. Token Retrieval: Follow the steps below to get the token value.
- Make sure your Roborock is paired with the Mi Home app (not the Roborock app).
- Create a Xiaomi account from its official website if you don’t have one.
- Download the token_extractor.exe file from GitHub using the Xiaomi Cloud token extractor.
- Input your Xiaomi account credentials when prompted, leaving the server section empty.
- Note or save the token value that appears on the screen.
6. Configure the Plugin: Go to the Plugin’s configuration page. Copy and paste the sample code that we have given below. Replace the accessory name, IP address, and token value from the code and enter your details.
"accessories": [
 {
  "accessory": "XiaomiRoborockVacuum",
  "name": "Xiaomi Mi Robot Vaccum 1st Generation",
  "ip": "192.168.1.150",
  "token": "abcdef1234567890abcdef1234567890",
  "serviceType": "fan",
  "pause": false,
  "dock": true,
  "waterBox": false,
  "cleanword": "cleaning",
  "rooms": [
    {
      "id": 16,
      "name": "Livingroom"
    },
    {
      "id": 17,
      "name": "Kitchen"
    }
  ],
  "zones": [
    {
      "name":"Family Room (x2)",
      "zone":[[25000,25000,32000,32000,2]]
    },
    {
      "name":"Bedroom",
      "zone":[[21000,32000,24000,37000,1]]
    },
    {
      "name":"Bedroom & Family Room",
      "zone":[ [21000,32000,24000,37000,1],  [25000,25000,32000,32000,1]]
    }
  ]
 }
],
6. Multiple Vacuums: If you’re adding more than one vacuum, use a specific code format given below for multiple devices.
"accessories": [
 {
  "accessory": "XiaomiRoborockVacuum",
  "name": "Xiaomi Mi Robot Vaccum 1st Generation",
  "ip": "192.168.1.150",
  "token": "abcdef1234567890abcdef1234567890",
  "pause": false,
  "dock": true,
  "waterBox": false
 },
 {
  "accessory": "XiaomiRoborockVacuum",
  "name": "Xiaomi Roborock S50 Vaccum 2nd Generation",
  "ip": "192.168.1.151",
  "token": "1234567890abcdef1234567890abcdef",
  "pause": false,
  "dock": true,
  "waterBox": false
 }
],
Add Xiaomi Roborock Vacuum to the Home App
Once the Plugin is installed and set up, you can add your Roborock to the Home app by scanning the QR code on the HOOBS Plugin page.
1. Launch Home App: Open the Home app on your iPhone or iPad and tap the “+” icon.
2. Add Accessory: Select Add Accessory and scan the QR code from the HOOBS Plugin.
3. Detect Device: The Home app will recognize your Roborock vacuum as a fan. Add it to your HomeKit setup.
4. Customize Settings: Place the device in a room and name it as you like.
5. Adjust Functions: Since the vacuum is recognized as a fan, adjust the room switch settings to activate the Room Clean Mode.
That’s it! You’ve successfully added your Xiaomi Roborock Vacuum to Apple HomeKit using HOOBS.
FAQ
You can’t add your Roborock Q5, Q7, and Q8 to HomeKit because these vacuums don’t have native support for HomeKit.
